Celestron CGEM HyperTune®…started

With the intention of improving the autoguiding performance (especially in RA) of my Celestron CGEM mount, I have initiated the process of “Hyper-Tuning” it. A few months ago, I purchased a partial kit from Ed Thomas at Deep Space Products to help the process.
What I ordered was:
– DVD step-by-step video on how to HyperTune® your mount
– Teflon Spacers
– Worm gear ceramic hybrid ball bearings
– A special tool for removing the worm gear retaining rings
– I already had the other tools and items needed to performed the tuning.
Dissasembly
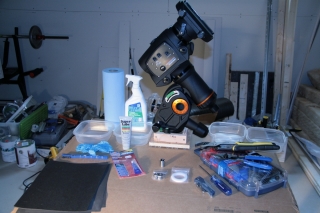
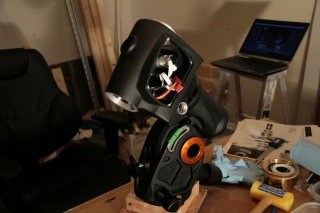
Here is a picture before disassembly.
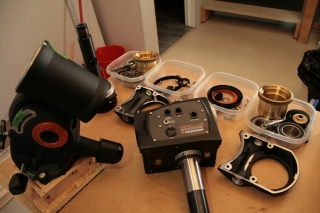
The disassembly phase completed.
I only identified a few issues while disassembling the mount:
1. The screws retaining the saddle to the DEC axis were loose;
2. The RA axis suffered from some stiffness while turning when unclutched.
3. Some residual paint was found on some of the mating surfaces.
Besides that, I did not encounter any serious issues like others have (e.g. foreign material in the mount, burrs or marks in the casting, etc.).
Cleaning and polishing
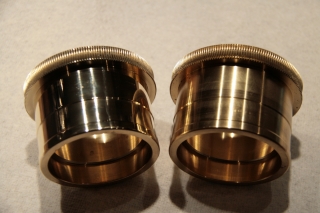
Sanded and polished ring gear (left) compared to the untouched out-of-the-mount gear (right).
The RA ring gear housing had to be slightly sanded to smooth it surface
RA and DEC parts were cleaned in soapy water with a toothbrush and some degreaser.
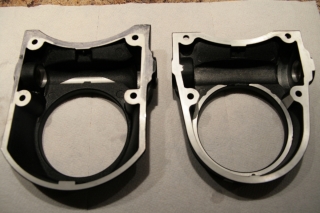
Worm gear assembly housing mating surface were sanded clean to eliminate unecesary spacing created by residual paint (right assembly was cleaned on this picture).
Re-assembly
Measurement for Teflon spacers…Completed
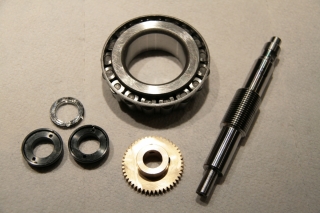
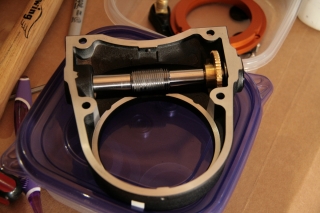
Worm gear and its housing re-assembly…Completed
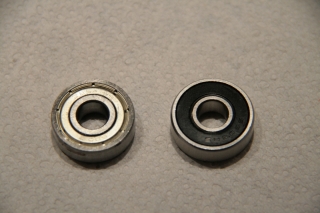
Here is a picture of the original (left) vs. the replacement ceramic bearing (right) of the worm gear assembly.
Lubrication and re-assembly of the RA Axis…Completed.
Friction seems to be substantially reduced.
Next steps
Greasing and re-assembly of the DEC Axis
Adjustments
Testing


